前回のエントリーではソースコードにUIを記述していました。
AndroidではXMLを使ってUIを定義できるようです。
パッケージ・エクスプローラーで「HelloAndroid」→「res」→「layout」の順に展開して、「main.xml」をダブルクリック。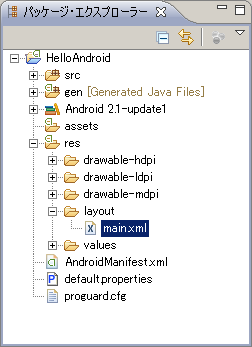
何やら画面デザインっぽいものが表示されました。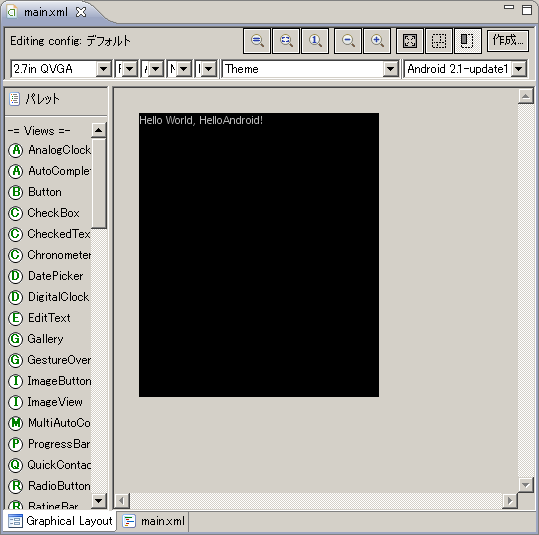
「main.xml」タブに切り替えると、以下のXMLが表示されます。
<?xml version="1.0" encoding="utf-8"?>
<LinearLayout xmlns:android="http://schemas.android.com/apk/res/android"
    android:orientation="vertical"
    android:layout_width="fill_parent"
    android:layout_height="fill_parent"
    >
<TextView
    android:layout_width="fill_parent"
    android:layout_height="wrap_content"
    android:text="@string/hello"
    />
</LinearLayout>
ちゃんと調べてませんが。
「LinerLayout」は、パラメータに従って子要素(コントロール)の配置(レイアウト)する箱のようなものかと。
「orientation」が「vertical」とは、垂直方向に配置ってことかと。
「@string/hello」は文字列リソースを表すようです。
「strings.xml」を開いてみます。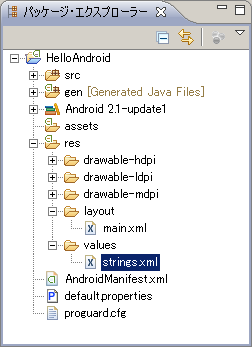
リソース編集画面のようなものが表示されました。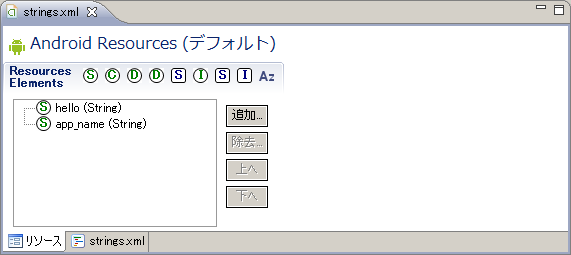
「hello (String)」を選択すると、編集フォームが表示されます。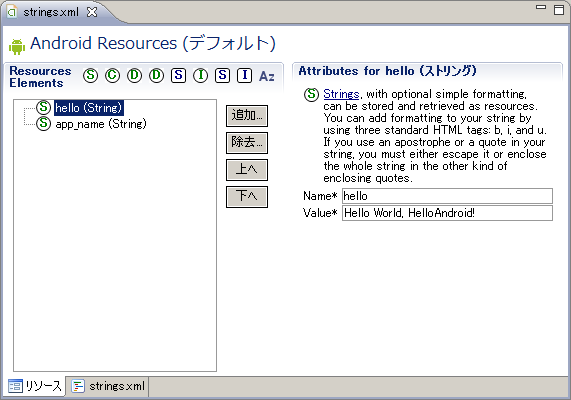
Valueフィールドに追記してみます。全裸で。日本語で。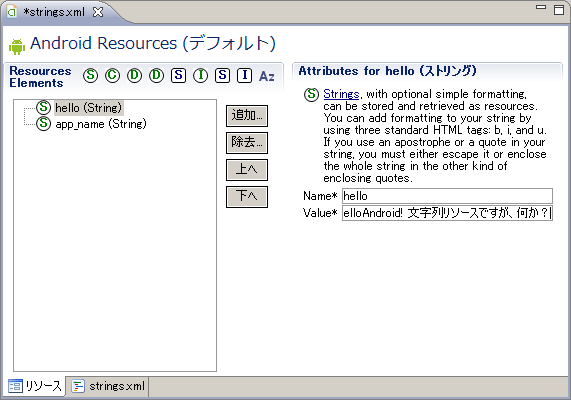
「HelloAndroid.java」を変更します。
package com.example.helloandroid;

import android.app.Activity;
import android.os.Bundle;
//import android.widget.TextView;

public class HelloAndroid extends Activity {
    /** Called when the activity is first created. */
    @Override
    public void onCreate(Bundle savedInstanceState) {
        super.onCreate(savedInstanceState);
        //TextView tv = new TextView(this);
        //tv.setText(“Hello, Android”);
        setContentView(/*tv*/R.layout.main);
    }
}
実行してみると、期待通りの画面が表示されました。

コメント